Brake Pad and Rotor Replacement - Front FWD
Step by step guide on how to replace front brake pads on a front wheel drive car, though appearances may vary, the process is the same on most vehicles.
- Socket set
- Wrench set
- Shop towels
- Screw driver set
- Large "C" clamp or channel locks
- Brake fluid
- Jack stands
- Hydraulic floor jack
- Breaker bar or lug wrench
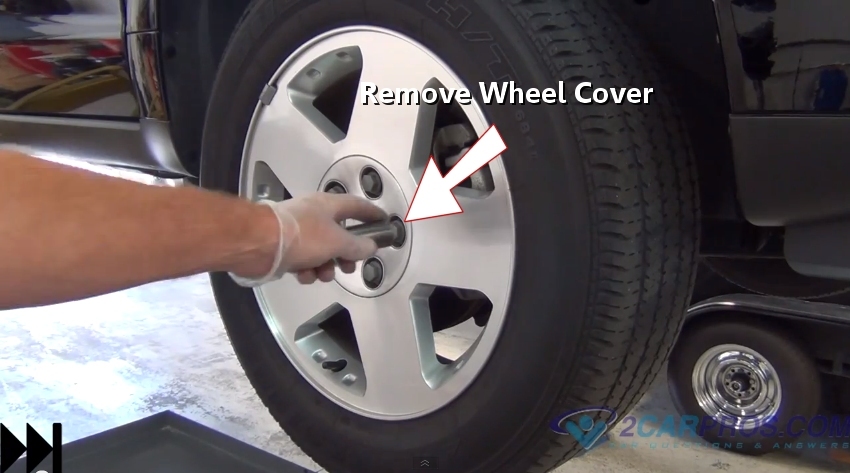
Removing Lug Nut Cover or Hubcap
Step 2 - Remove lug nut with lug wrench or breaker bar. Shown with air tool. (Note: Loosen lugs on ground if no air toll are used.)
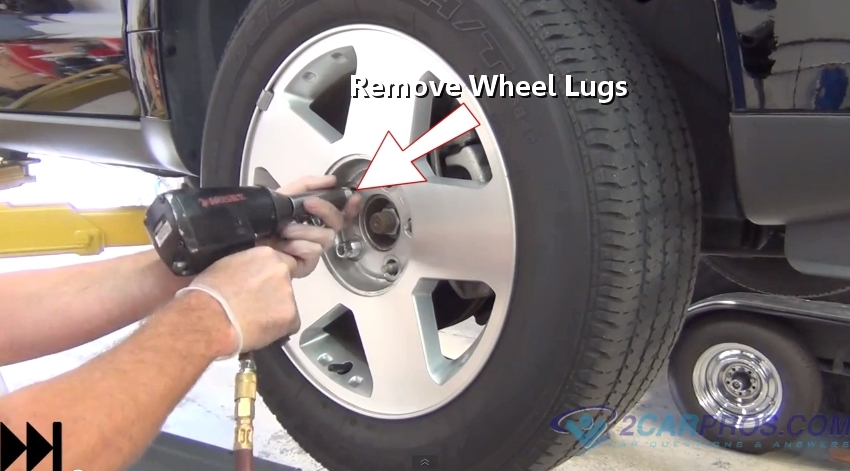
Removing Lug Buts
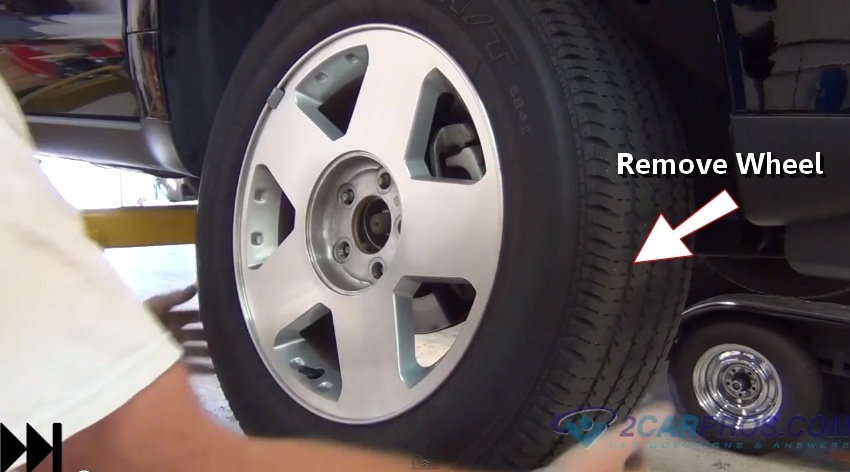
Lifting Wheel from Axle Studs
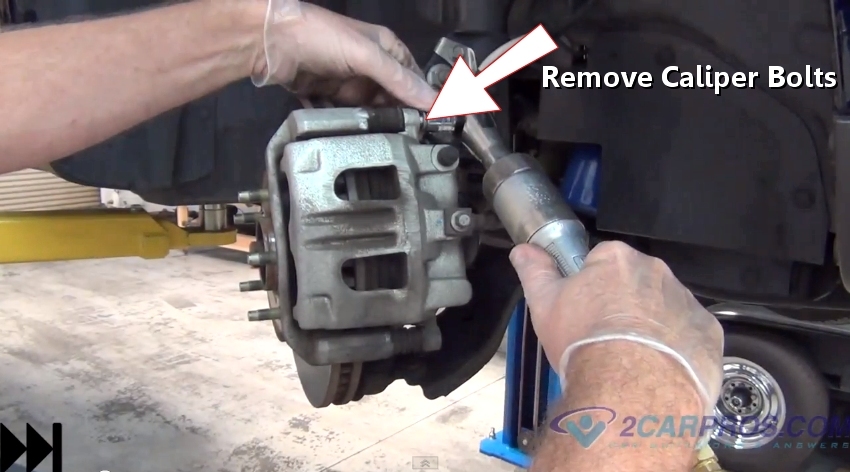
Removing Both Caliper Mounting Bolts
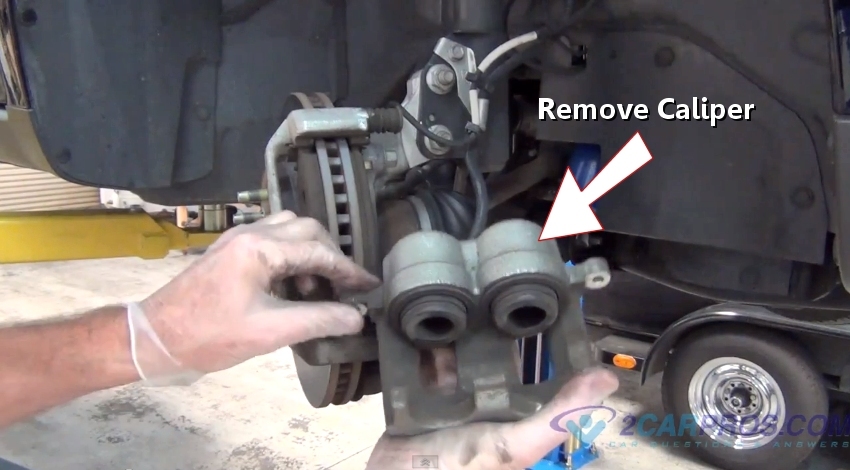
Removing Brake Caliper

Removing Brake Pads
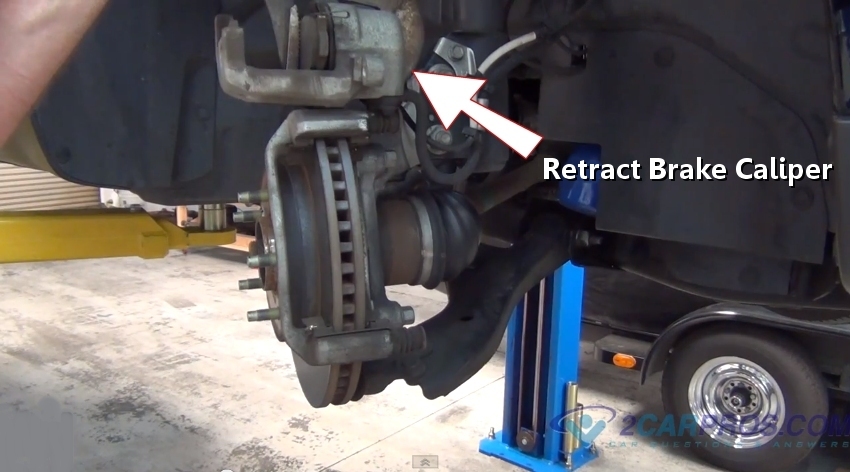
Retracting Brake Caliper
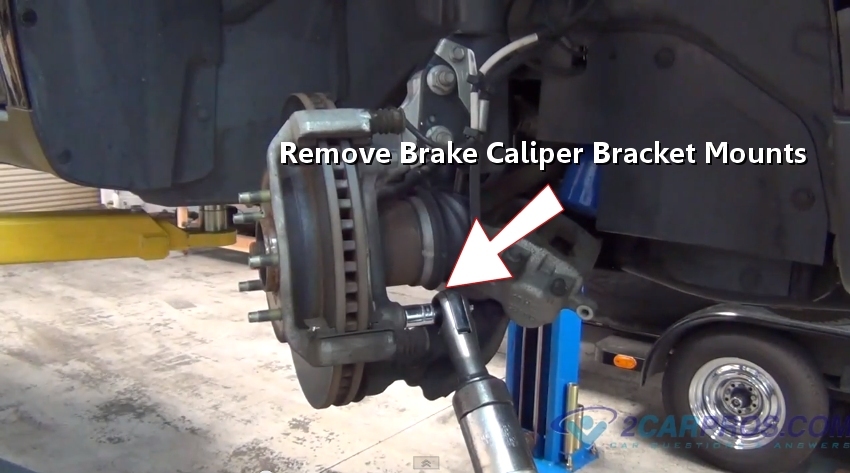
Removing Caliper Bracket Mounting Bolts
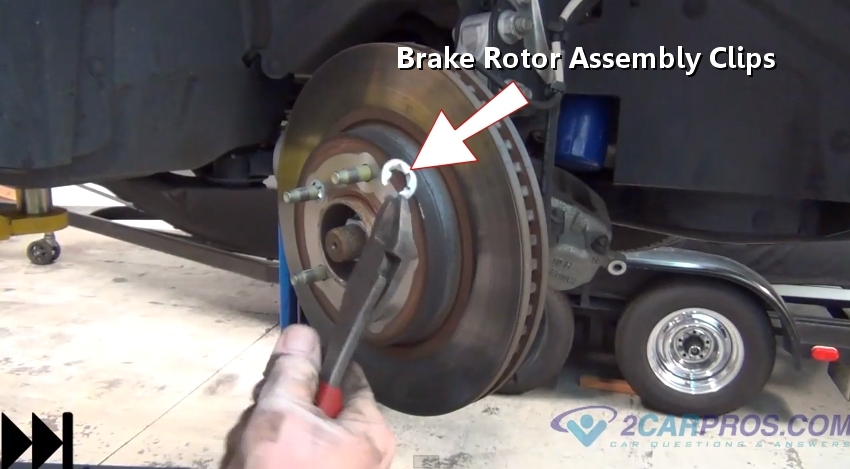
Removing Rotor Assembly Clips
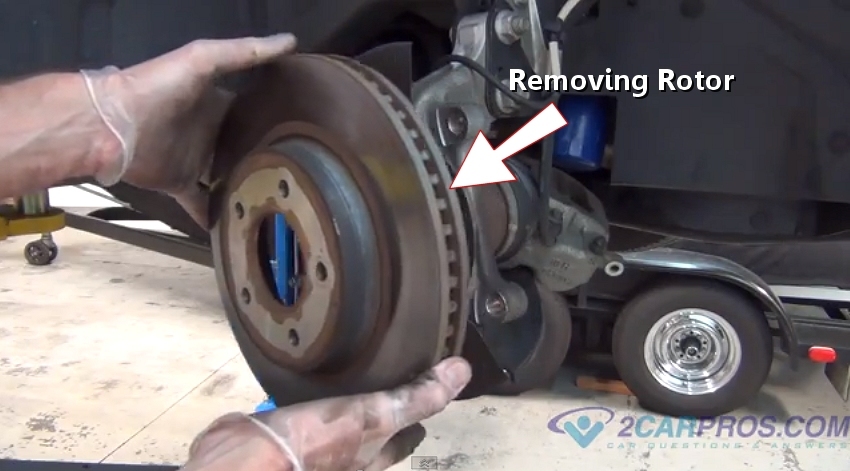
Removing Brake Rotor
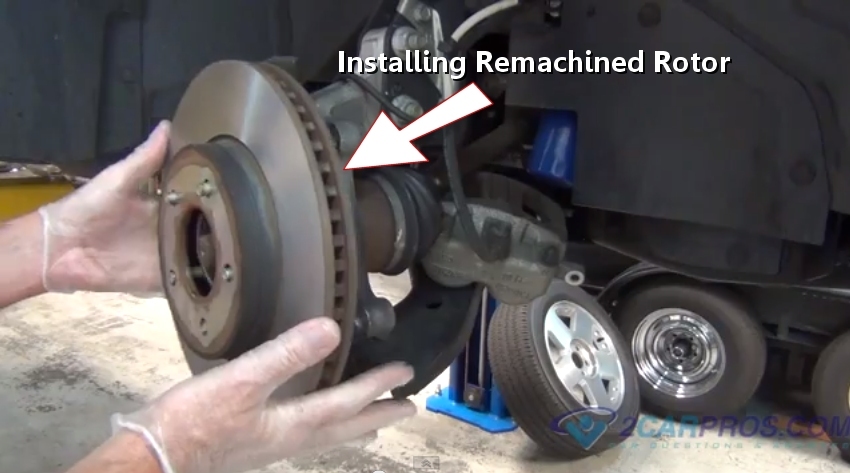
Installing New Brake Rotor
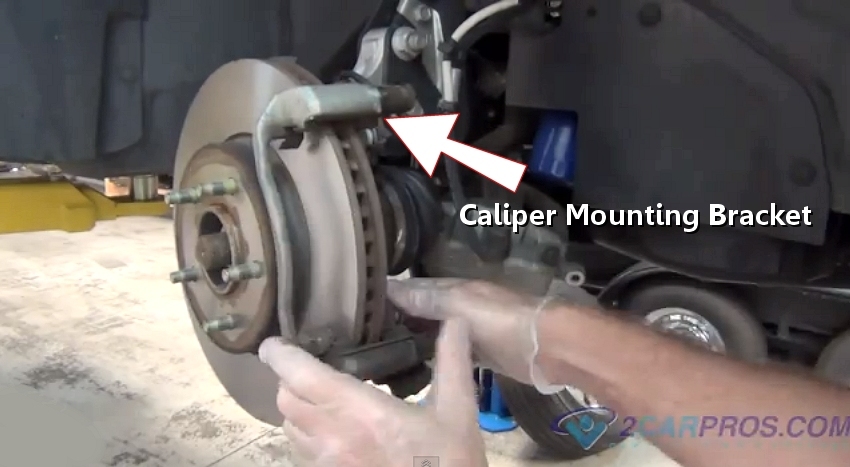
Installing Caliper Bracket

Inspecting New Brake Pads
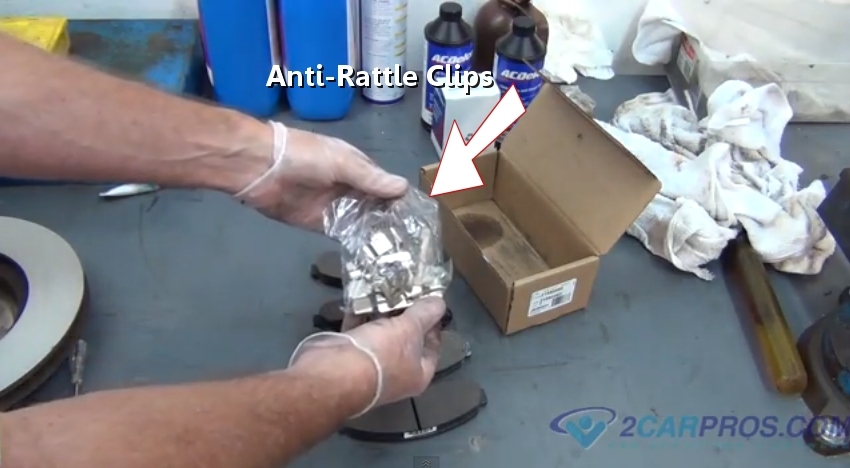
Anti-Rattle Clips
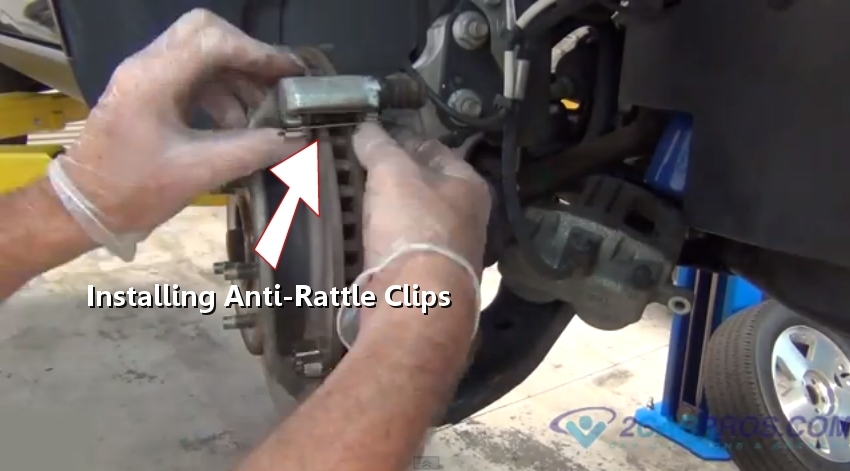
Installing New Anti-Rattle Clips

Installing Front Brake Pads
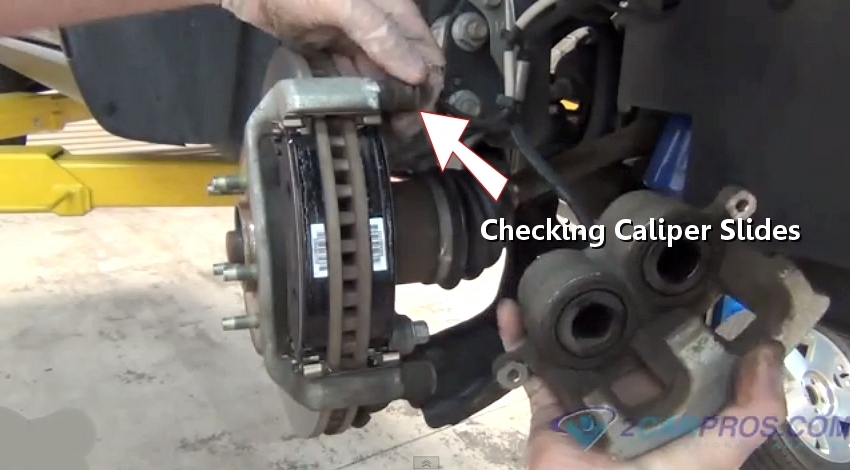
Inspecting Caliper Slides

Installing Brake Caliper
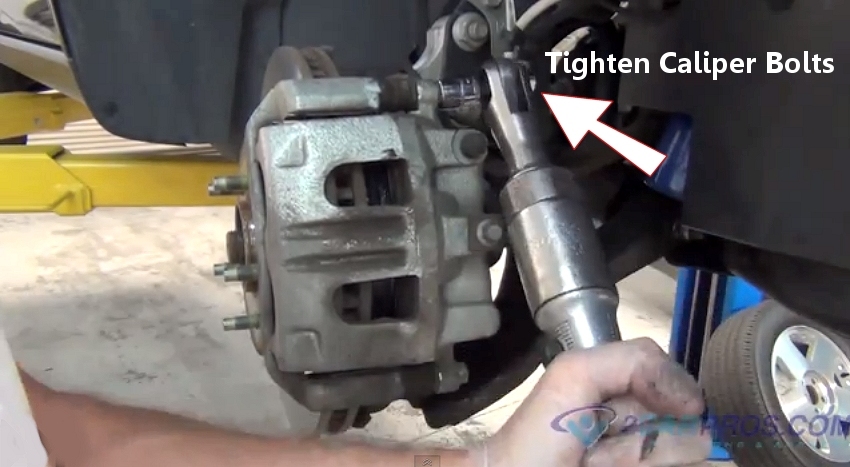
Tightening Caliper Bolts
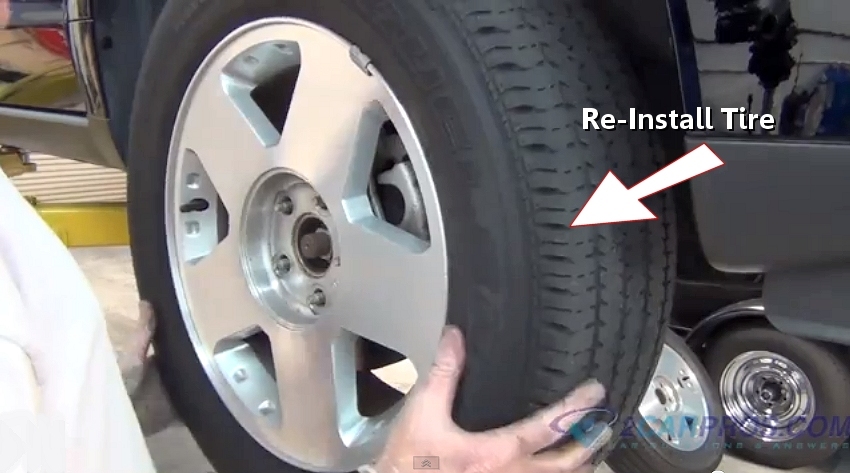
Re-Installing Tire
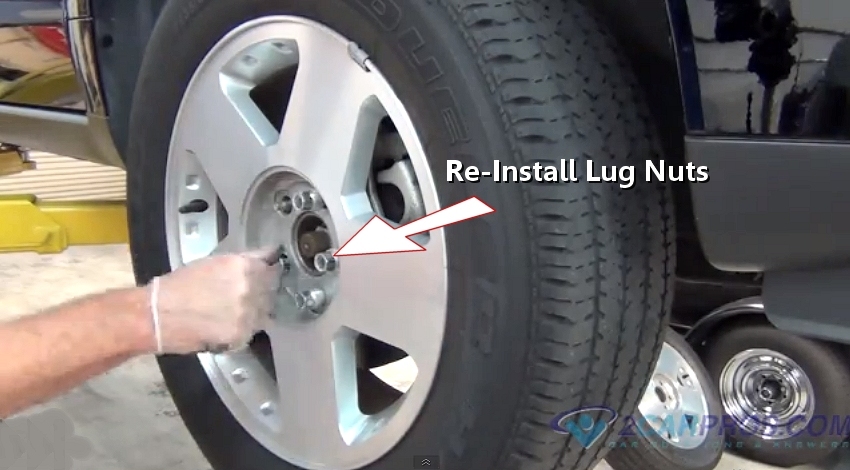
Re-installing Lug Nuts
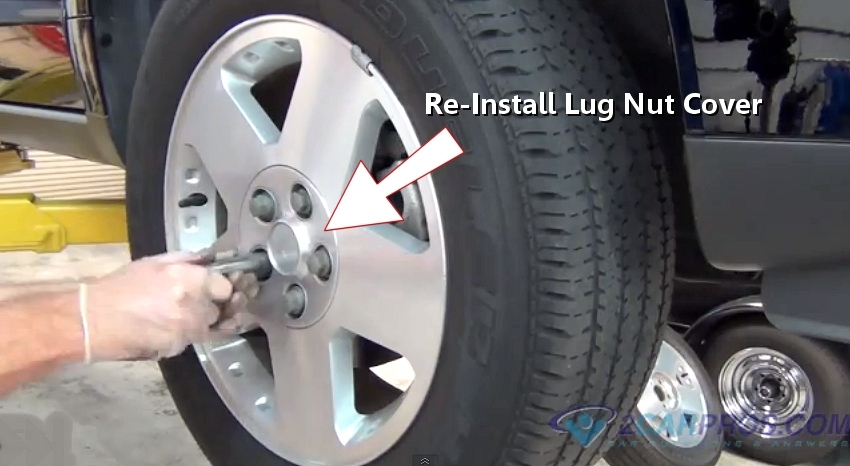
Installing Lug Nut Cover
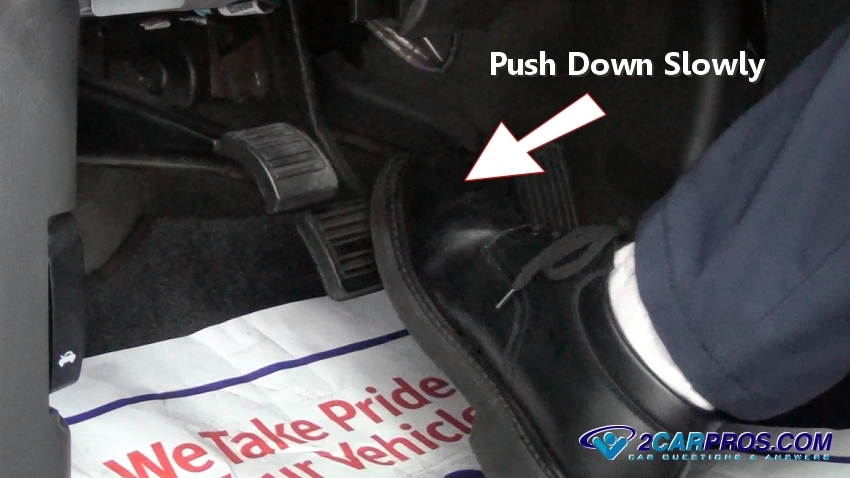
Push Brake Pedal Down Slowly
- Clean and inspect wheel studs, replace if any are damaged.
- Inspect the ABS sensor wheel for cracks or damage and replace as needed.
- Bleed the brake system after replacing brake components are replaced.
- Brake service usual occurs between 15,000 and 30,000 miles depending on driver habits, road conditions, brake pad and rotor materials used.
- Use high quality pads and rotors when replacing brake components.
- Lubricate caliper sliders if needed
- Clean surface between the rotor and axle flange to ensure proper operation. (If debris is left between the rotor and hub bearing, it can cause the rotor to wobble on the axle causing the steering wheel to shake when the brakes are applied.)
Commentaires
Enregistrer un commentaire